Instructions
Pastry Cream:
To make the Pastry Cream, start by placing 1 1/4 cup of milk in a saucepan with the pistachio paste and whisk over medium heat just until you see the first bubbles appear. Turn the heat off and set the pan aside. You can do this a bit before and let the milk infuse with the pistachio for about 30 minutes. Then re-heat the mixture before proceeding. This will make the pistachio flavor more prominent. Though this is not a mandatory step.
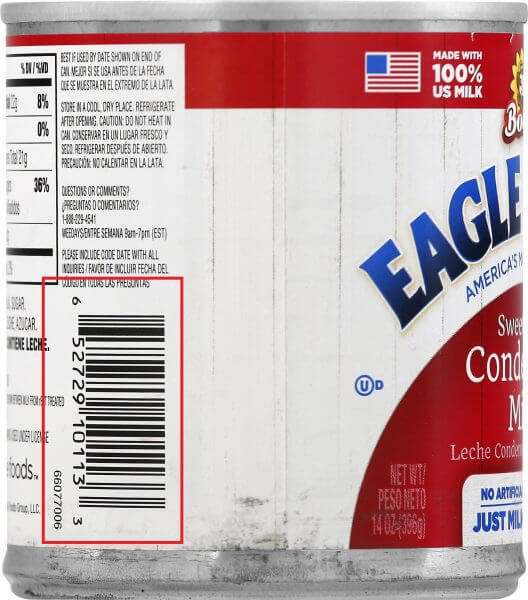
Using a mixer, whisk the yolks together with the sweetened condensed milk.
Take the remaining 1/4 cup of milk and mix with the cornstarch. Whisk well so the cornstarch will dissolve.
Add the cornstarch/milk mixture to the sweetened condensed milk and yolks. Whisk well.
Pour about 1/4 cup of the hot milk/pistachio mixture in the sweetened condensed milk mixture, while whisking with the mixer.
This process is called tempering the eggs, and we add the milk slowly in order to not make scrambled eggs out of the yolks we have in the bowl.
Slowly continue to add all the milk until it’s been all added.
Pour the whole mixture back in the saucepan through a fine mesh sieve, this will help catch any bits of egg that might have cooked, and also bits of pistachio nuts that will clog the piping bag later.
Place the pan over medium heat, and stir with a spatula the whole time while you cook the custard.
It should take some time, but slowly you will see the custard begin to thicken at the bottom.
It will seem as the custard is lumpy, but trust the process, keep on stirring and scraping the bottom of the pan, and soon the whole mixture will thicken up. Don’t leave the heat too high, or the custard will indeed become lumpy because some bits of it will burn at the bottom of the pan.
After a few minutes the whole mixture will be thick and creamy, when that happens, remove it from the heat and add the butter.
Stir until the butter has melted entirely and incorporated with the mixture.
Cover the bowl a piece of plastic wrap directly on the surface of the custard, to prevent a skin from forming.
Refrigerate the custard for at least 2 hours or up to 3 days or so.
Craquelin Top:
With an electric mixer, beat the butter for one minute. Add the powdered sugar and beat for another minute. Add the cake flour and red food coloring and mix to combine and to form a cookie dough. Add as much food coloring as needed to make the color a vibrant red.
Between layers of parchment paper, roll out the craquelin dough until about 1/4” thick.
Use a 2” cookie cutter to cut rounds of craquelin. Place the rounds in a baking sheet and in the freezer or fridge while you work on the choux pastry.
You can make the craquelin tops a couple of days ahead and leave them in the freezer until ready to bake the choux.
Choux Pastry:
Pre-heat the oven to 375ºF.
Line two baking sheets with parchment paper or silicone.
In a medium saucepan, mix the water, butter, salt, and sugar. Place over medium heat and let it come to a boil. Once it does, remove the pan from the heat, add the flour and mix vigorously to incorporate.
Place the pan back in the heat, stir until the flour has incorporated with the wet mixture and a thick dough has formed, for about 1 to 2 minutes.
Remove the dough from the heat, transfer it to a bowl and let it cool down for 10 minutes.
Meanwhile, line a large piping bag with a large round tip and set it aside.
Break the 4 eggs and whisk them gently.
After 10 minutes have passed, start mixing the dough again, this time using an electric mixer or a wooden spatula. I love doing this in the mixer, but can be done by hand also.
While you mix the dough, start adding the eggs, a bit at a time, making sure to incorporate them nicely with the dough.
After you have finishes adding the eggs continue to work the dough for another minute with the mixer, and a couple of minutes by hand.
Once the dough is thick and smooth, transfer it to the piping bag.
Pipe circles of choux dough that measure about 1.75 inches in diameter.
Top each dough circle with a craquelin round. Or if not making craquelin, simply bake the choux dough as it is. Baking time should be about the same for both.
Bake in the oven for about 30 minutes, until puffed and golden brown on the bottom.
Let it cool down.
If not using on the same day, place in an air tight container and refrigerate for up to 2 days or freeze for up to 1 month.
To fill:
To fill the puffs, place the Pistachio Pastry Cream in a piping bag fitted with a small round tip such as a tip 6 or 8.
Stick the piping tip on the bottom of the puff, and pipe the filling inside.
To decorate:
Whip heavy cream with a mixer for a few minutes until it has firm peaks.
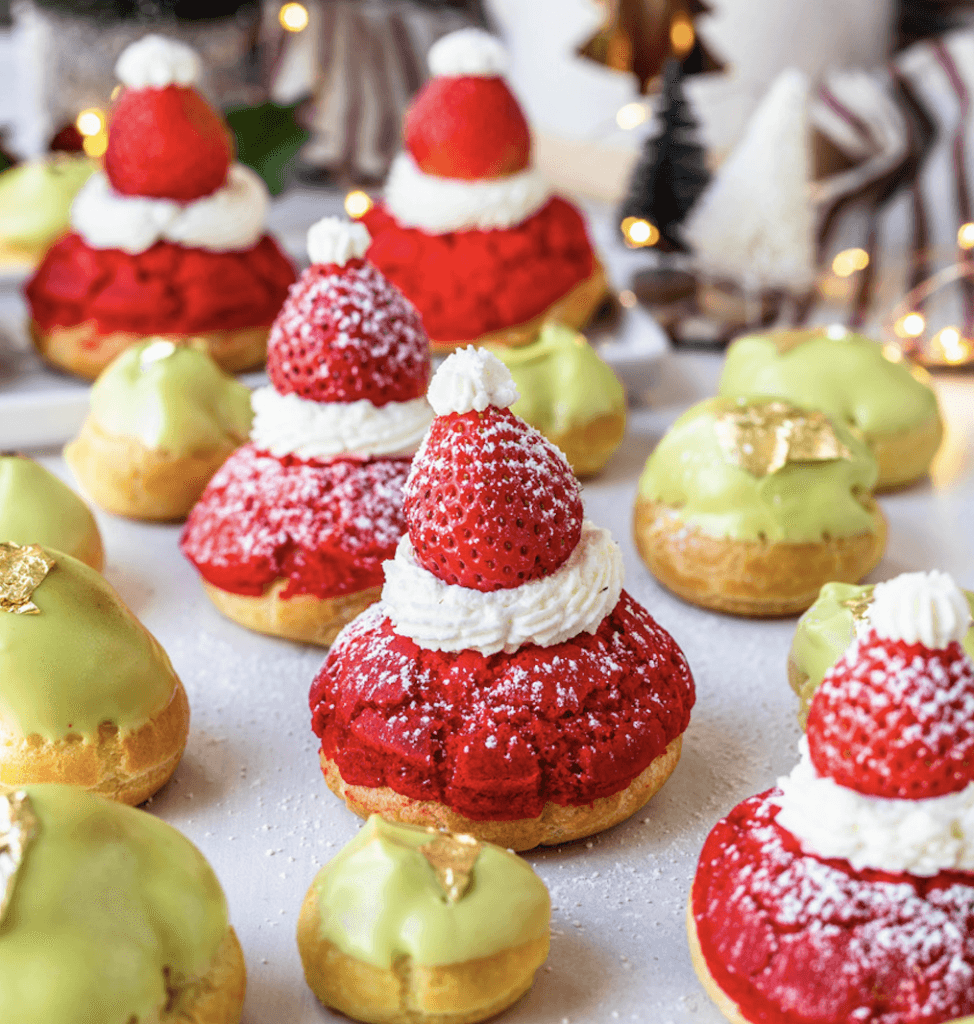
Place it in a piping bag fitted with a star tip. Pipe a ring of whipped cream on top of the choux craquelin. Top with a strawberry, and then pipe a dot on top of the strawberry, and it will look like a Santa Claus hat.
Another decoration idea is to melt the white chocolate with a dash of green candy food coloring. Then dip the tops of the choux without craquelin in the chocolate. Then, stick a piece of gold leaf on top.
This dessert is best consumed the day it’s made. The craquelin will be very crispy on the first day it is made, but it will lose freshness quickly. Always keep it stored in an air tight container in the fridge.
Once filled consume on the same day, so the pastry doesn’t get soggy.
Recipe by our friend Camila @PiesandTacos
Enjoy!

