Featured Recipe
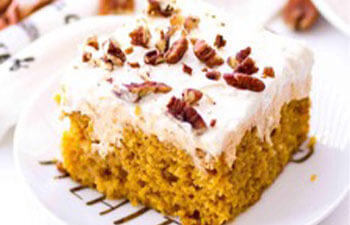
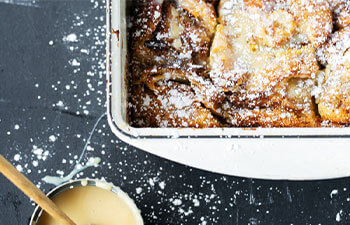
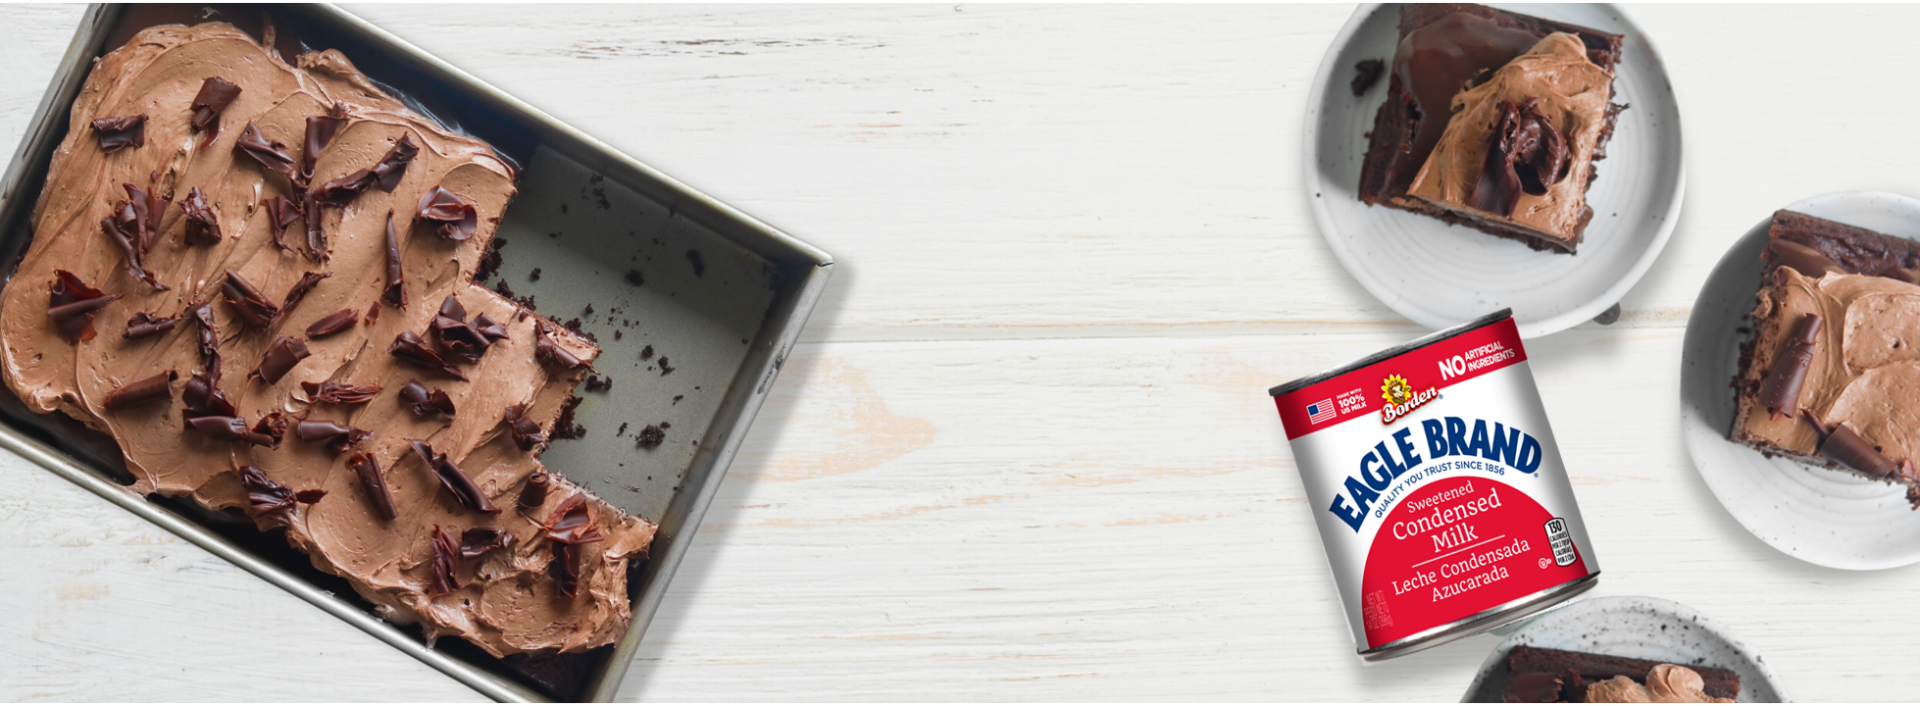
Triple Chocolate Poke Cake
Triple Chocolate Poke Cake – because three chocolates are better than one!
Get the Recipe
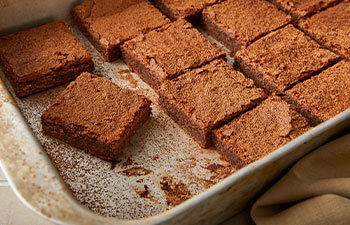
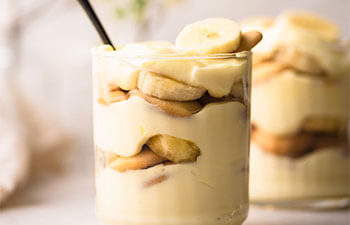
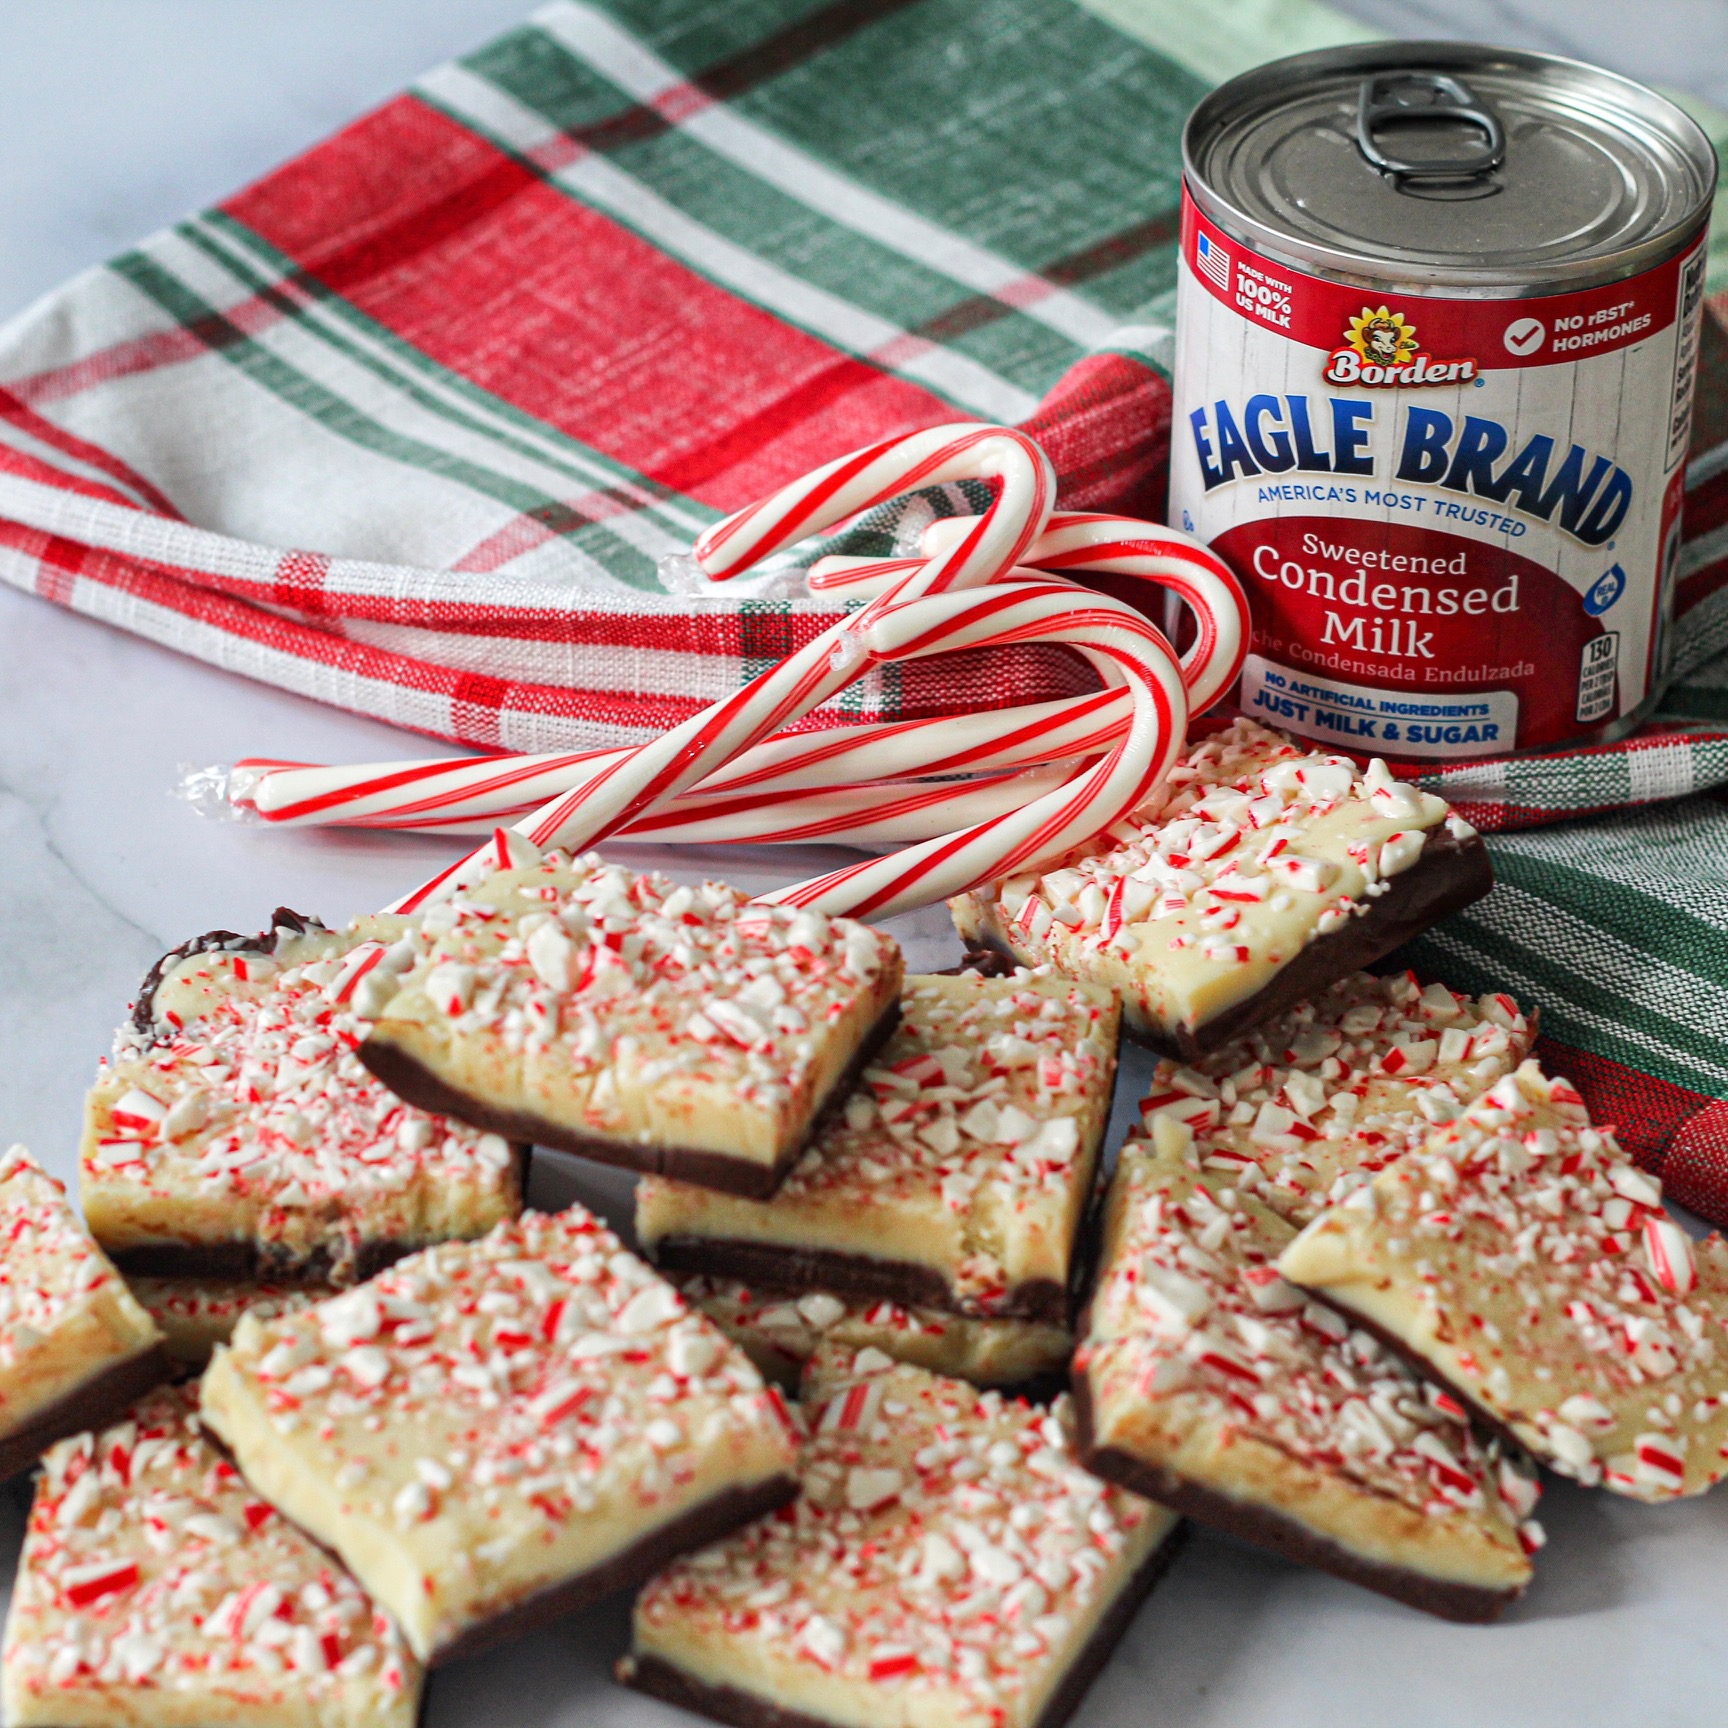
Dulce de Leche Cookies
Super easy to bake cookies that are out-of-this-world delicious!
Dulce De Leche Cookies
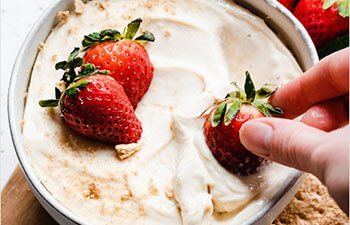
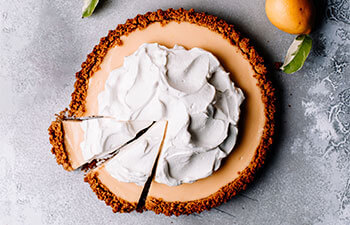
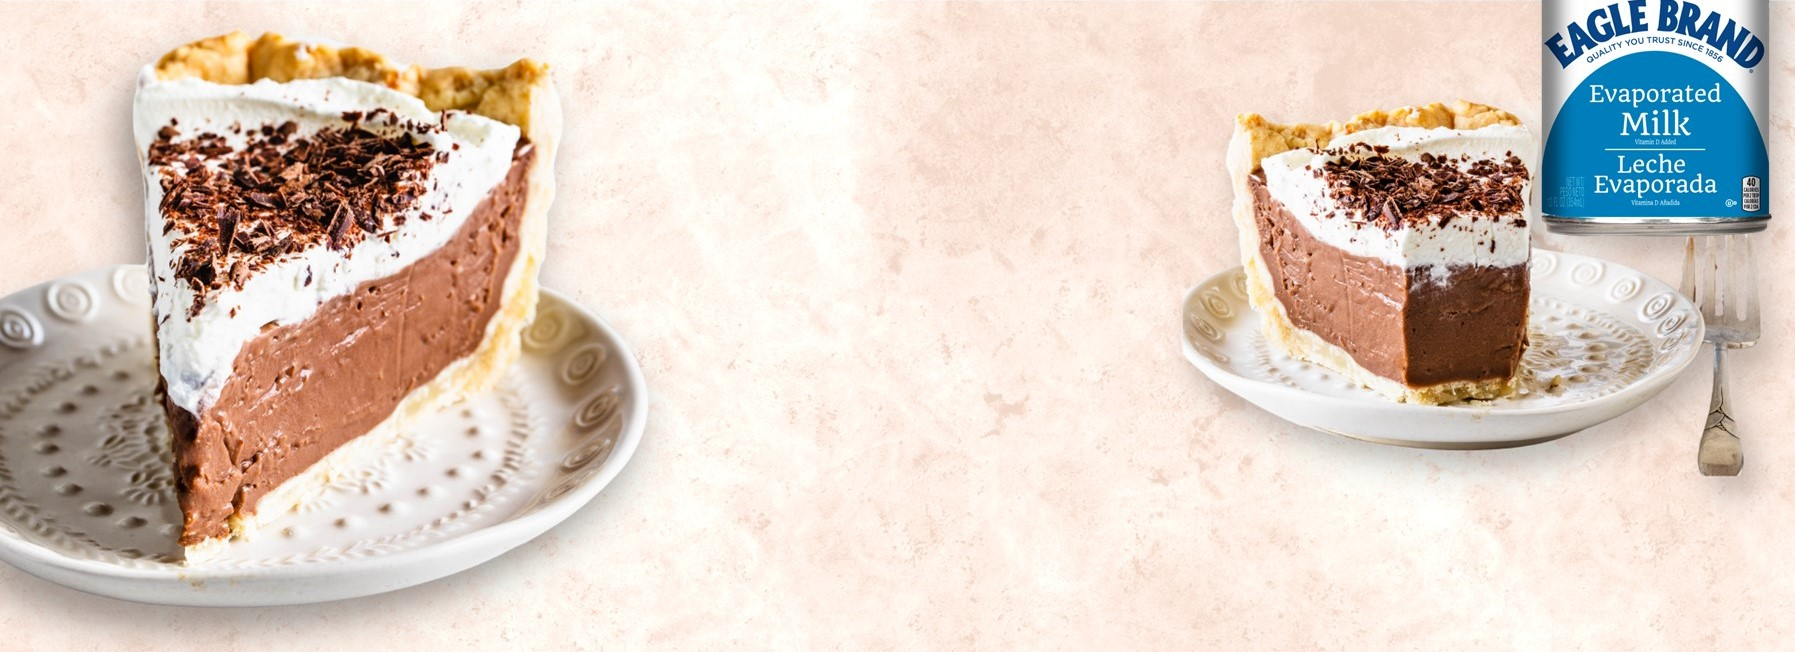
Chocolate Cream Pie
Thick & creamy chocolate pie filling lay atop a buttery, flaky crust. Ideal for holidays and celebrations of any kind!
This site is protected by reCAPTCHA and the Google Privacy Policy and Terms of Service apply.
© 2026 Eagle Family Foods LLC. Borden and Elsie Trademarks used under license. Privacy Policy